Looking for a furniture manual? Wrong aisle!
This post is a metaphorical deep-dive into team architecture.
If you need help with a Malm or a Kallax, click here.
If you want to scale your design department without the ‘extra screws’ (aka technical debt), keep reading.
Product Name: Effektïv Desïgnteåm
Model: #UXDRÖM2000
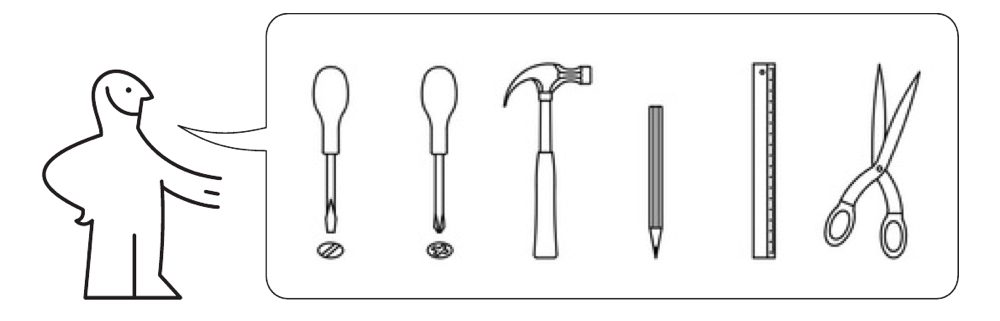
Tools Required: Open Communication (included), Trust & Autonomy (included), Leadership Support (not included), Snacks (optional)
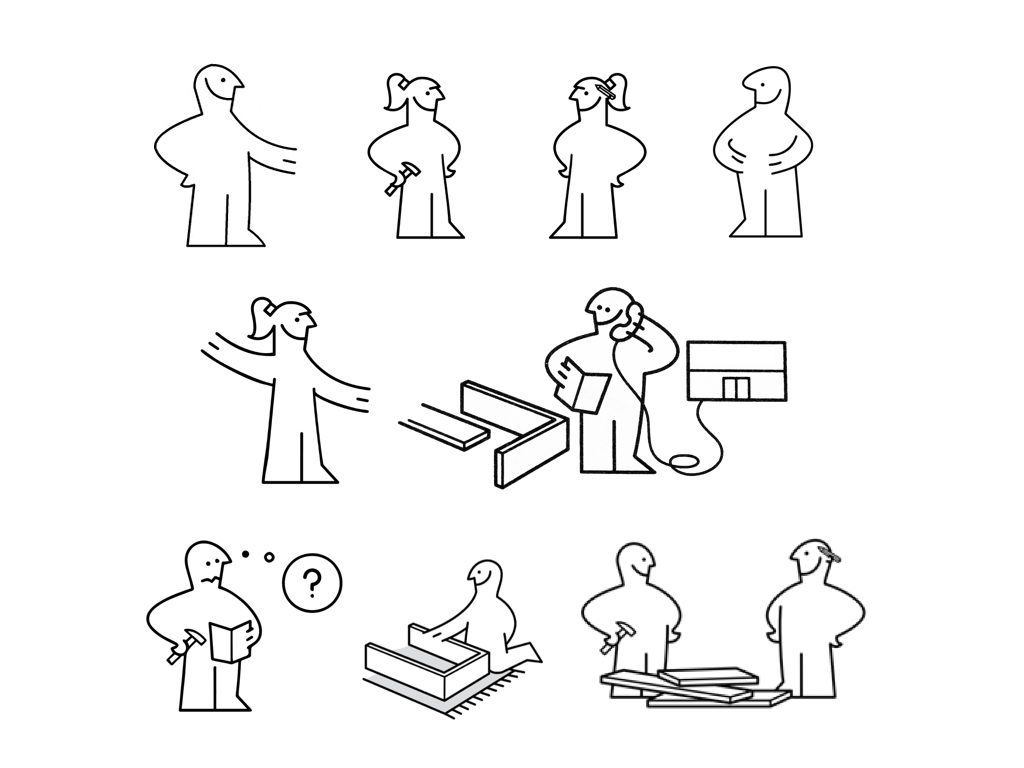
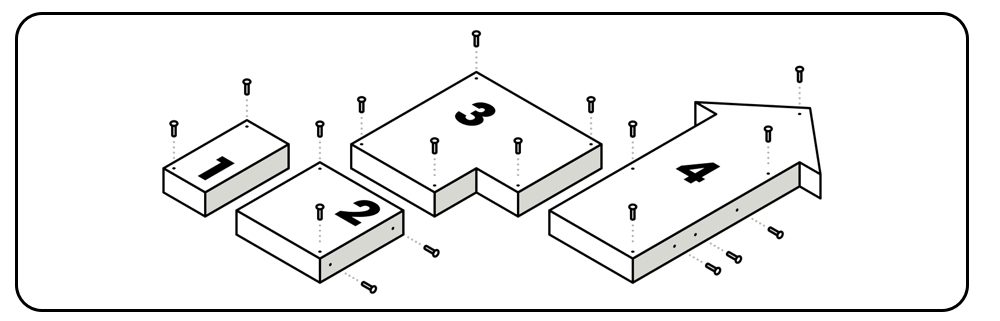
Part List:
1x Visionary Design Leader (inspires, guides, and keeps the team focused)
3x Senior Designers (experienced with deep expertise in UX, UI, or Product Design)
2x Mid-Level Designers (good balance of skills and energy)
2x Junior Designers (eager to learn, lots of fresh ideas)
1x UX Researcher (understands users, their needs, and behavior)
1x UX Writer (ensures seamless communication across the design)
1x Project Manager (keeps deadlines and workflows on track)
1x Developer Collaborator (optional but highly recommended for smoother processes)
Bonus Part: Collaboration Software (Figma, Sketch, Miro sold separately)
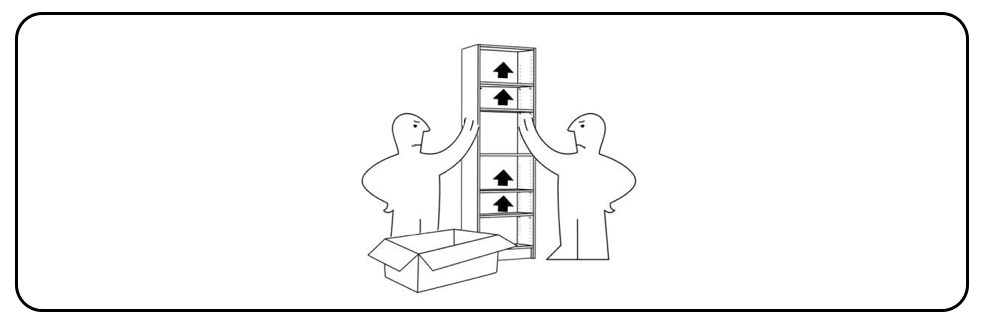
Step 1: Lay a Strong Foundation
First, make sure you have a clear and unified vision. This is the ‘floorboard’ that your team will stand on. Use the Visionary Design Leader part to define goals, establish core values, and communicate the mission. This piece is critical for ensuring that the team knows where they’re going and why they exist.
Important! Align the vision with the company’s business objectives, but leave room for creativity. Not doing this will result in loose screws and a wobbly team.

Step 2: Assemble the Core Structure (Senior Designers)
Next, place your Senior Designers into the assembly slots marked as ‘Specialists’. These sturdy components will serve as the backbone of your design team. They come with a wealth of experience and should be empowered to make key decisions about design direction.
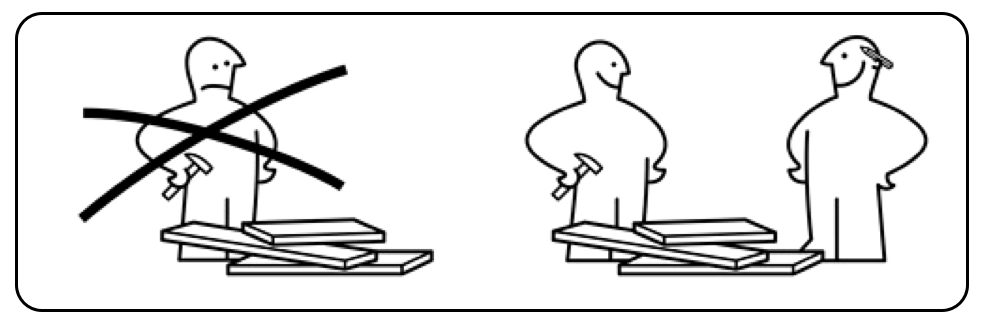
Tip: Don’t overtighten their screws, or they’ll feel micromanaged. Senior designers work best when trusted to solve problems with autonomy.
Step 3: Attach Mid-Level Designers for Support
Now, snap in your Mid-Level Designers. They provide balance between creativity and experience, bridging the gap between your senior and junior parts. They should be rotated frequently between projects for versatility and to prevent burnout.
Warning: If they start making squeaky sounds, check for proper alignment with project goals or offer professional development to prevent rusting.

Step 4: Insert Junior Designers for Fresh Perspective
Slide the Junior Designers into the slots labeled ‘Fresh Ideas’. These parts are invaluable for injecting creativity and enthusiasm into the assembly. Pair them with senior or mid-level designers for training purposes.
Note: Junior designers are fragile, handle with care. Ensure they are supported with regular feedback and guidance to prevent breakdowns (both literally and emotionally).
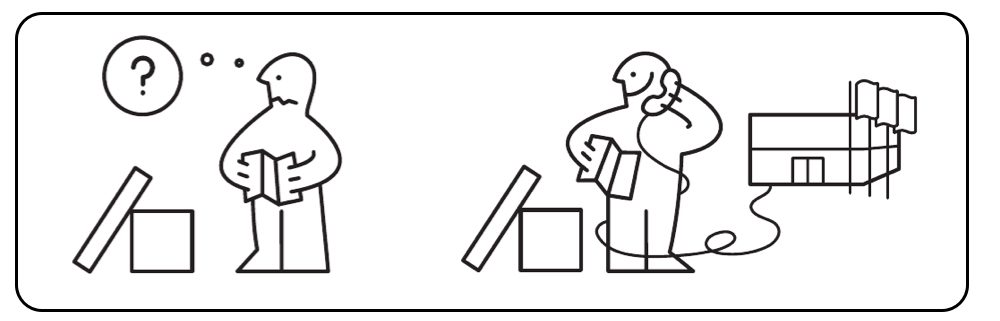
Step 5: Connect the UX Researcher and UX Writer
Using the screws provided, attach the UX Researcher and UX Writer to the main structure. These pieces play a crucial role in connecting user needs and communication clarity to the overall design framework. They ensure the entire system is user-friendly and cohesive.
Pro Tip: Align the UX Researcher with key projects early on. Waiting too long to attach this piece may result in designs that don’t fit user expectations, and this can cause the whole system to collapse under usability issues.
Step 6: Add the Project Manager for Stability
Now it’s time to screw in the Project Manager. This is the piece that holds everything together by keeping the team on track, hitting deadlines, and managing workload. Make sure to oil this part regularly with proper communication and workload management tools to ensure smooth operation.
Caution: Don’t overload the Project Manager, or they may jam, causing delays in delivery. Too much pressure can make this piece overheat and eventually break.
Step 7: Ensure Developer Collaboration
While this piece is marked as optional, we highly recommend attaching a Developer Collaborator to your design team. This part ensures that designs are built correctly and efficiently, reducing friction between design and development.
Tip: If no developer is available, make sure the design and development teams communicate often using your Bonus Part (Collaboration Software).
Step 8: Add Snacks (Optional, But Highly Encouraged)
Snack breaks (e.g., chocolate, coffee, or Swedish meatballs) keep all parts running smoothly and increase morale. Regular snack installations are key to preventing burnout and promoting creativity.
Final Assembly Check
Now that all the parts are in place, ensure the following:
- Vision Alignment: Are all the parts aware of and working toward the same design vision?
- Autonomy & Trust: Are parts given enough freedom to perform their roles without constant supervision?
- Collaboration: Are all parts communicating effectively with each other and with other teams (like product, marketing, and development)?
- Support: Does your team have enough leadership support and the necessary tools to function efficiently?
Ongoing Maintenance
Congratulations! You’ve built an effective design team. To ensure longevity:
- Check for loose screws regularly: Have regular 1:1s with each part to ensure they’re still feeling connected and aligned.
- Apply oil generously: Make sure communication flows smoothly through team meetings, feedback loops, and collaborative tools.
- Replace worn-out parts: If a part is burnt out, offer additional training, support, or if necessary, replace the piece to maintain overall system performance.
Assembly Complete. Enjoy your Effektïv Desïgnteåm!